Go Back  RCU Forums > RC Airplanes > RC Jets
Reload this Page >

Reaction 54 Jet Kit

Notices
RC Jets Discuss RC jets in this forum plus rc turbines and ducted fan power systems

Reaction 54 Jet Kit

Old 05-22-2018, 06:08 AM
  #4001  
SALMONBUG
My Feedback: (1)
 
SALMONBUG's Avatar
 
Join Date: Feb 2003
Location: kampenhout, BELGIUM
Posts: 1,396
Likes: 0
Received 2 Likes on 2 Posts
Default

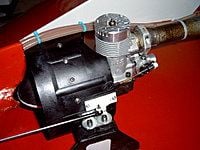
Back from the field, I made 2 flights with my fellow's p60 instaled. My R54 is defintly tuned and trimed, I consider it being fully airworty in my fleet and it's time to jump in a other project. I decided to give me a relaxing building and I went in my storage room, found a complete new spring air retract (originaly planed for fellow sig king kobra I never builded) and a new ASP .90. I looked in my collection of "kits waiting" to find a matching airframe and I ordered a genesis pusher pipe )
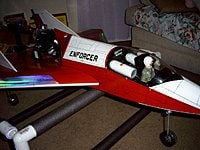
Time to build a USA balsa enforcer
I had that one in mind for years, time to jump in that building
Old 05-22-2018, 12:24 PM
  #4002  
SALMONBUG
My Feedback: (1)
 
SALMONBUG's Avatar
 
Join Date: Feb 2003
Location: kampenhout, BELGIUM
Posts: 1,396
Likes: 0
Received 2 Likes on 2 Posts
Default

Started my next project ( the enforcer). The last 3 kits I builded were coming from BTE, switch to a other brand make you definitly understand the excelence of Bruce Tharpe enginneering production.
Old 05-22-2018, 02:22 PM
  #4003  
joeflyer
My Feedback: (48)
 
Join Date: Dec 2001
Location: Plymouth, MI
Posts: 2,957
Likes: 0
Received 16 Likes on 14 Posts
Default

While you're at it you should do a Turbine Enforcer. I had a lot of fun with mine. Here's a thread I started a while back.
http://www.rcuniverse.com/forum/rc-j...-enforcer.html

Joe
Old 05-22-2018, 04:05 PM
  #4004  
CARS II
My Feedback: (7)
 
CARS II's Avatar
 
Join Date: Oct 2002
Location: Sacramento CA
Posts: 6,589
Received 123 Likes on 106 Posts
Default


I had forgotten competently that I build one, come to think of it, I think I got my waiver with it.

Last edited by CARS II; 05-22-2018 at 07:04 PM.
Old 05-22-2018, 10:31 PM
  #4005  
SALMONBUG
My Feedback: (1)
 
SALMONBUG's Avatar
 
Join Date: Feb 2003
Location: kampenhout, BELGIUM
Posts: 1,396
Likes: 0
Received 2 Likes on 2 Posts
Default

Originally Posted by joeflyer
While you're at it you should do a Turbine Enforcer. I had a lot of fun with mine. Here's a thread I started a while back.
http://www.rcuniverse.com/forum/rc-j...-enforcer.html

Joe
I considered a turbine enforcer something like 15 years ago when I discovered one on rcu. As far remember that one belonged to a asiatic member and I found it extremely cool. ( your is wonderfull also ) and CarsII ducted fan version is also cool. But my enforcer will be fit with a conventional glow power propulsion and a pusher pipe. The only mods I plan is a retract and relocate the flight controls servos.
I already ordered my next turbine powered plane. A znline wizard. and I have to keep the enforcer project "democratic".

that building should go straight and fast, the only concern I have is when I look the long stock nose gear wire. It could do the job with the spring air retract, but i feel it could be a bit weak and bend easy. So I ask myself if I sould order robostruts

Last edited by SALMONBUG; 05-22-2018 at 10:49 PM.
Old 05-23-2018, 05:34 AM
  #4006  
CARS II
My Feedback: (7)
 
CARS II's Avatar
 
Join Date: Oct 2002
Location: Sacramento CA
Posts: 6,589
Received 123 Likes on 106 Posts
Default

The nose wire is fine, it's a light airplane and landings are achieved with a high alpha approach in order to slow it down.
Old 05-23-2018, 08:30 PM
  #4007  
CARS II
My Feedback: (7)
 
CARS II's Avatar
 
Join Date: Oct 2002
Location: Sacramento CA
Posts: 6,589
Received 123 Likes on 106 Posts
Default


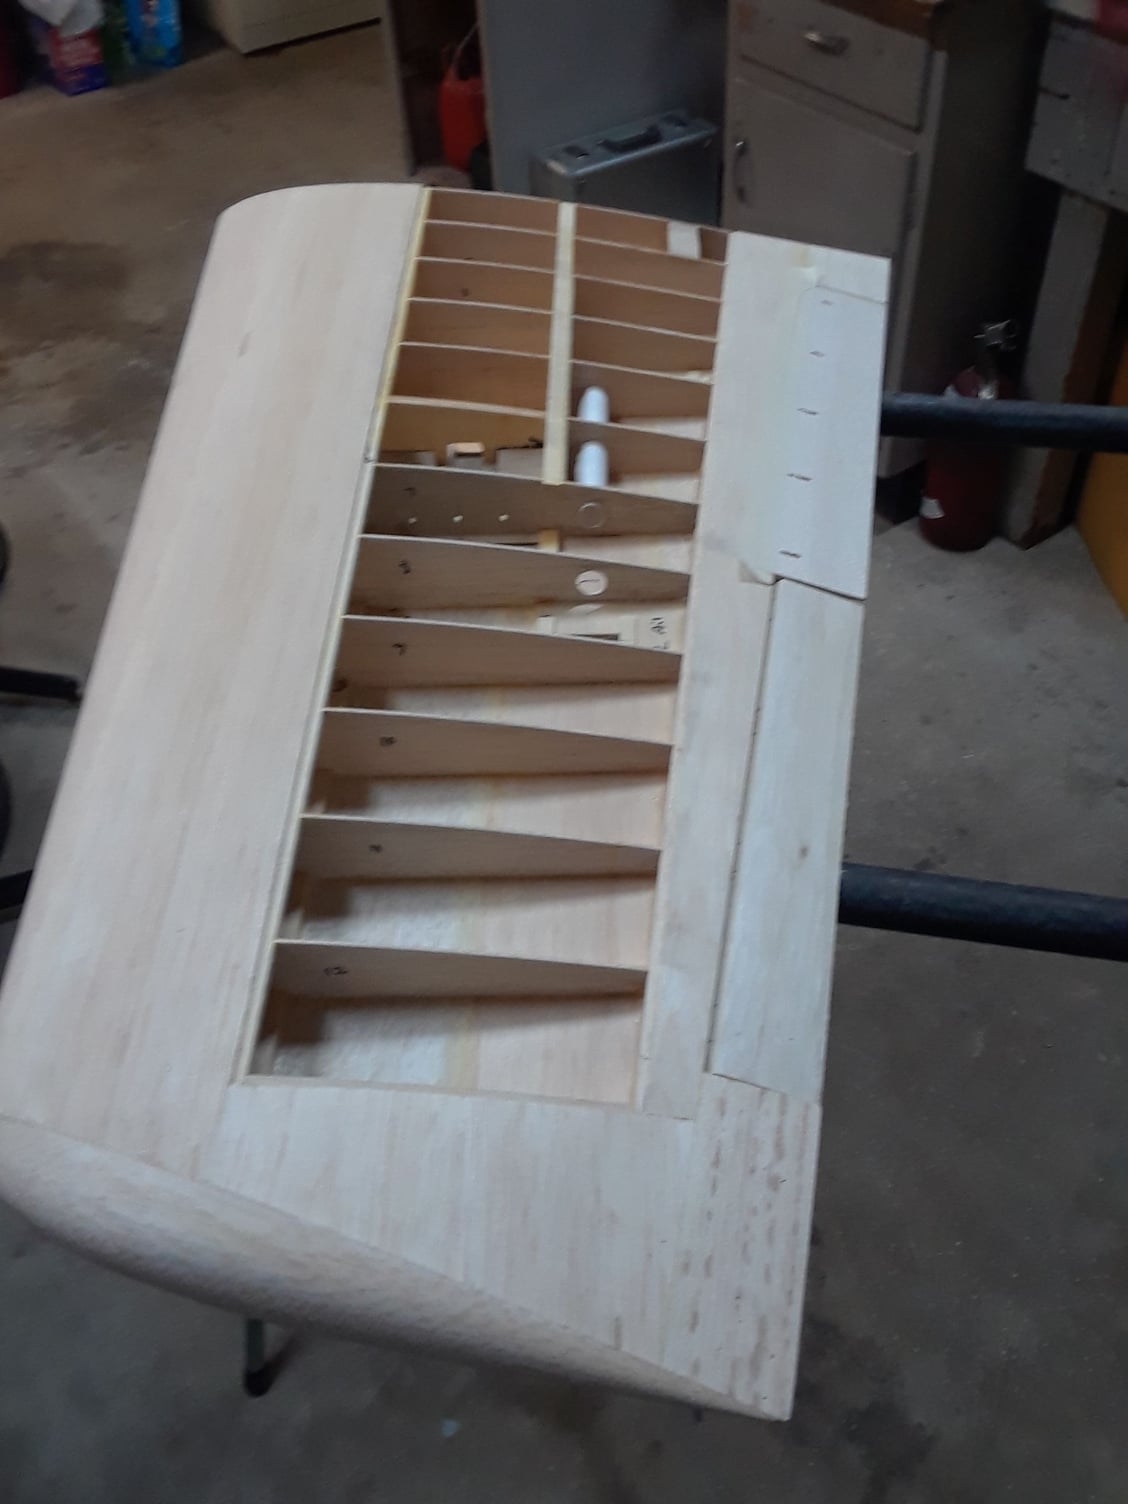
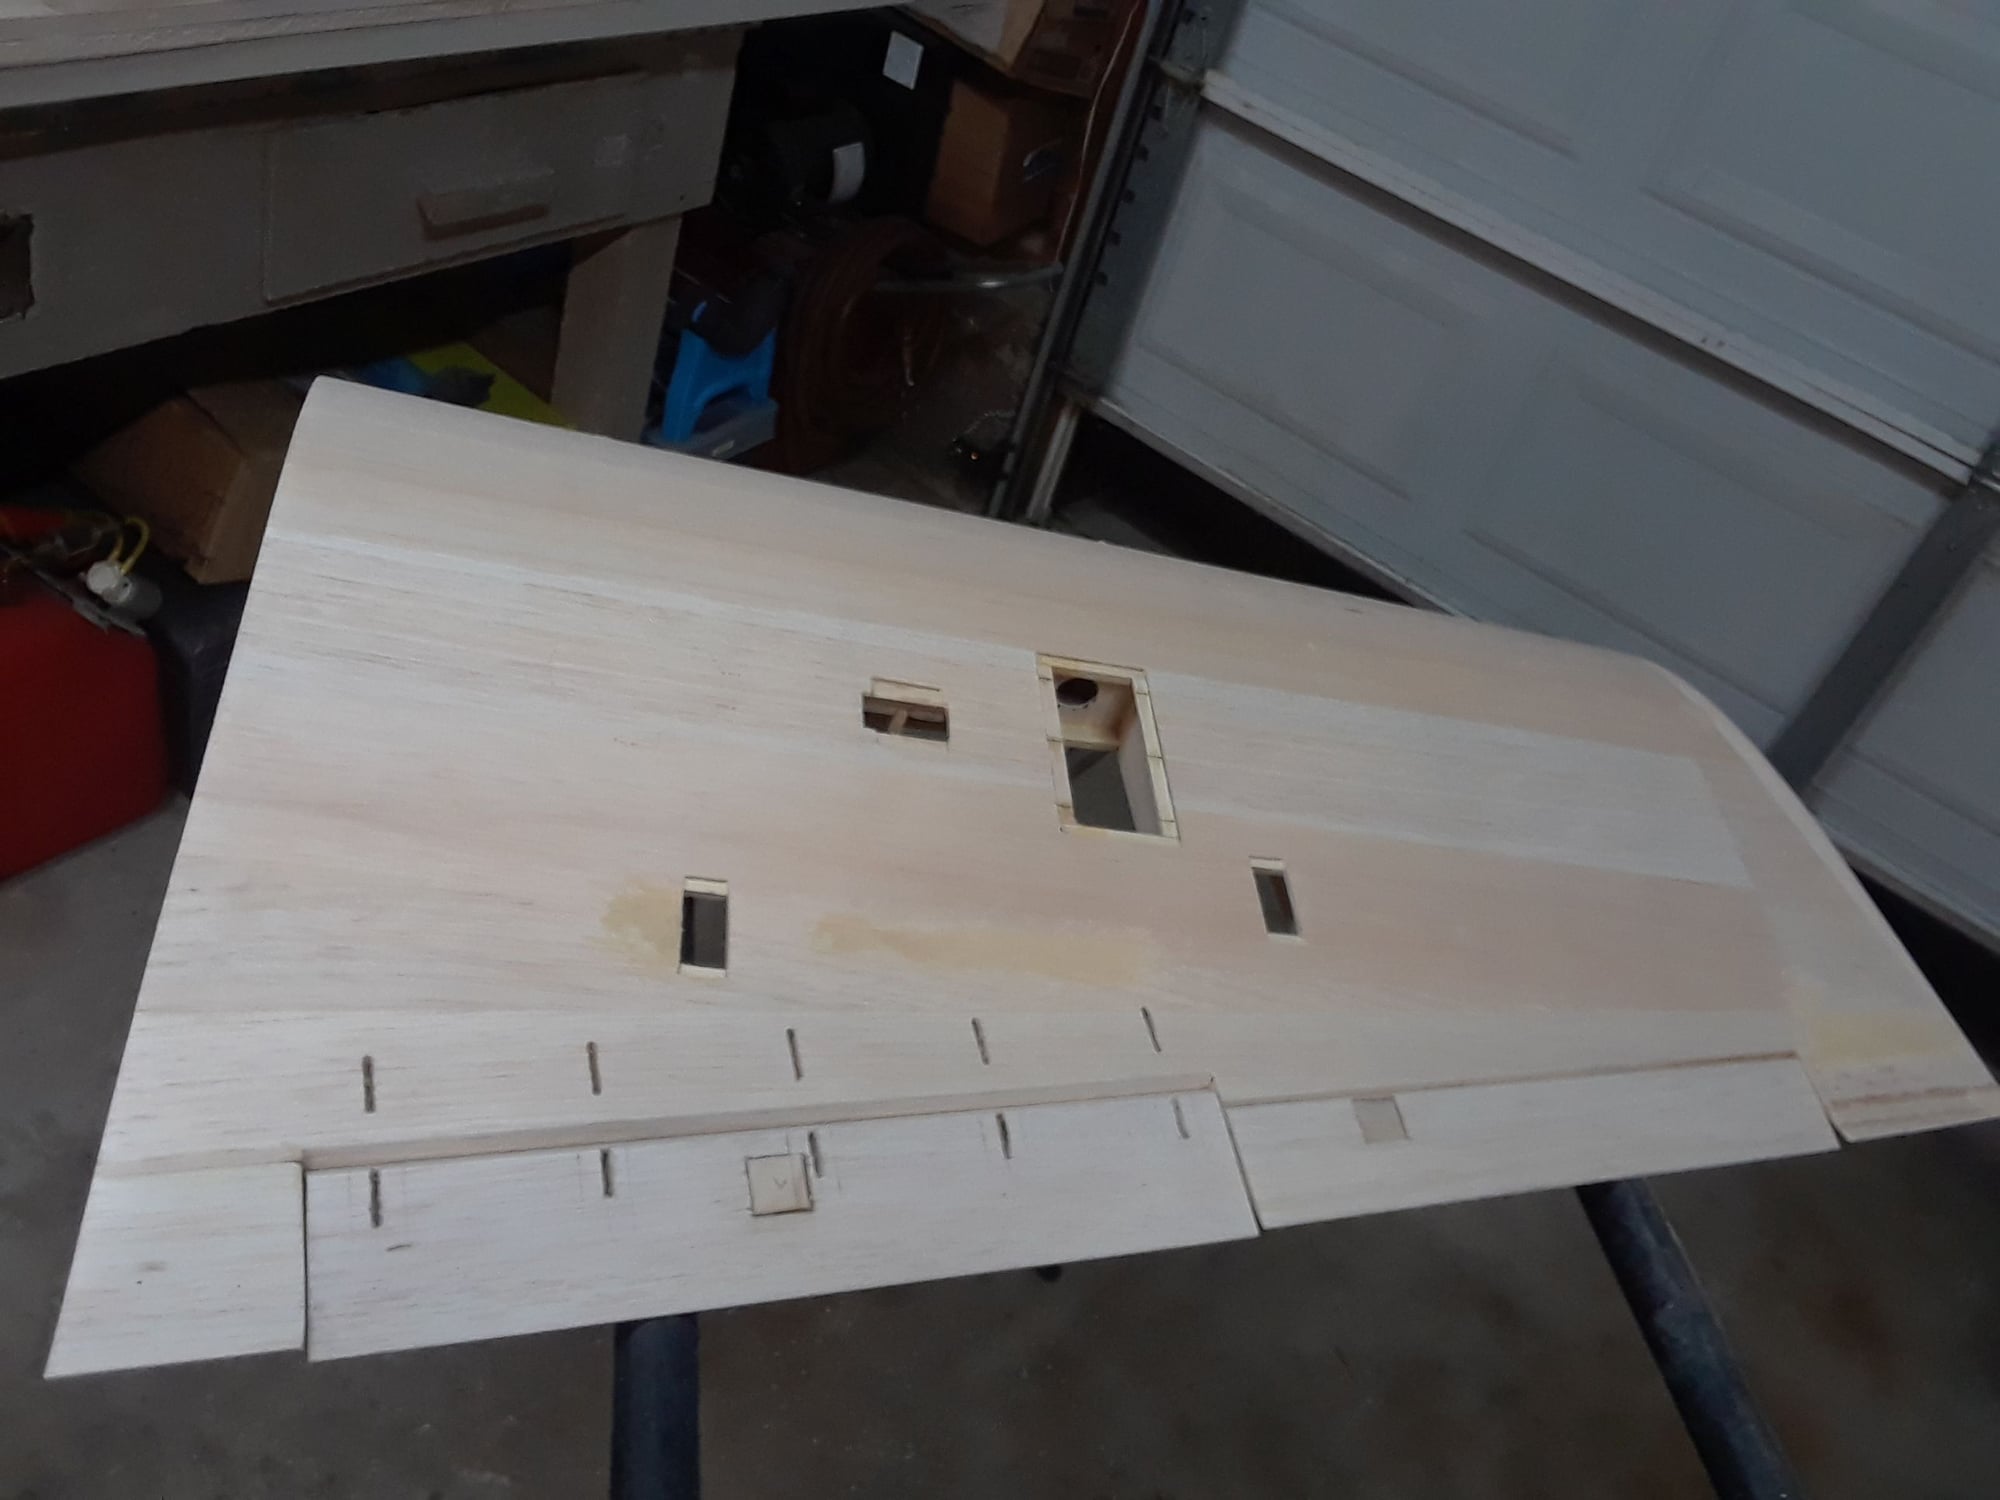
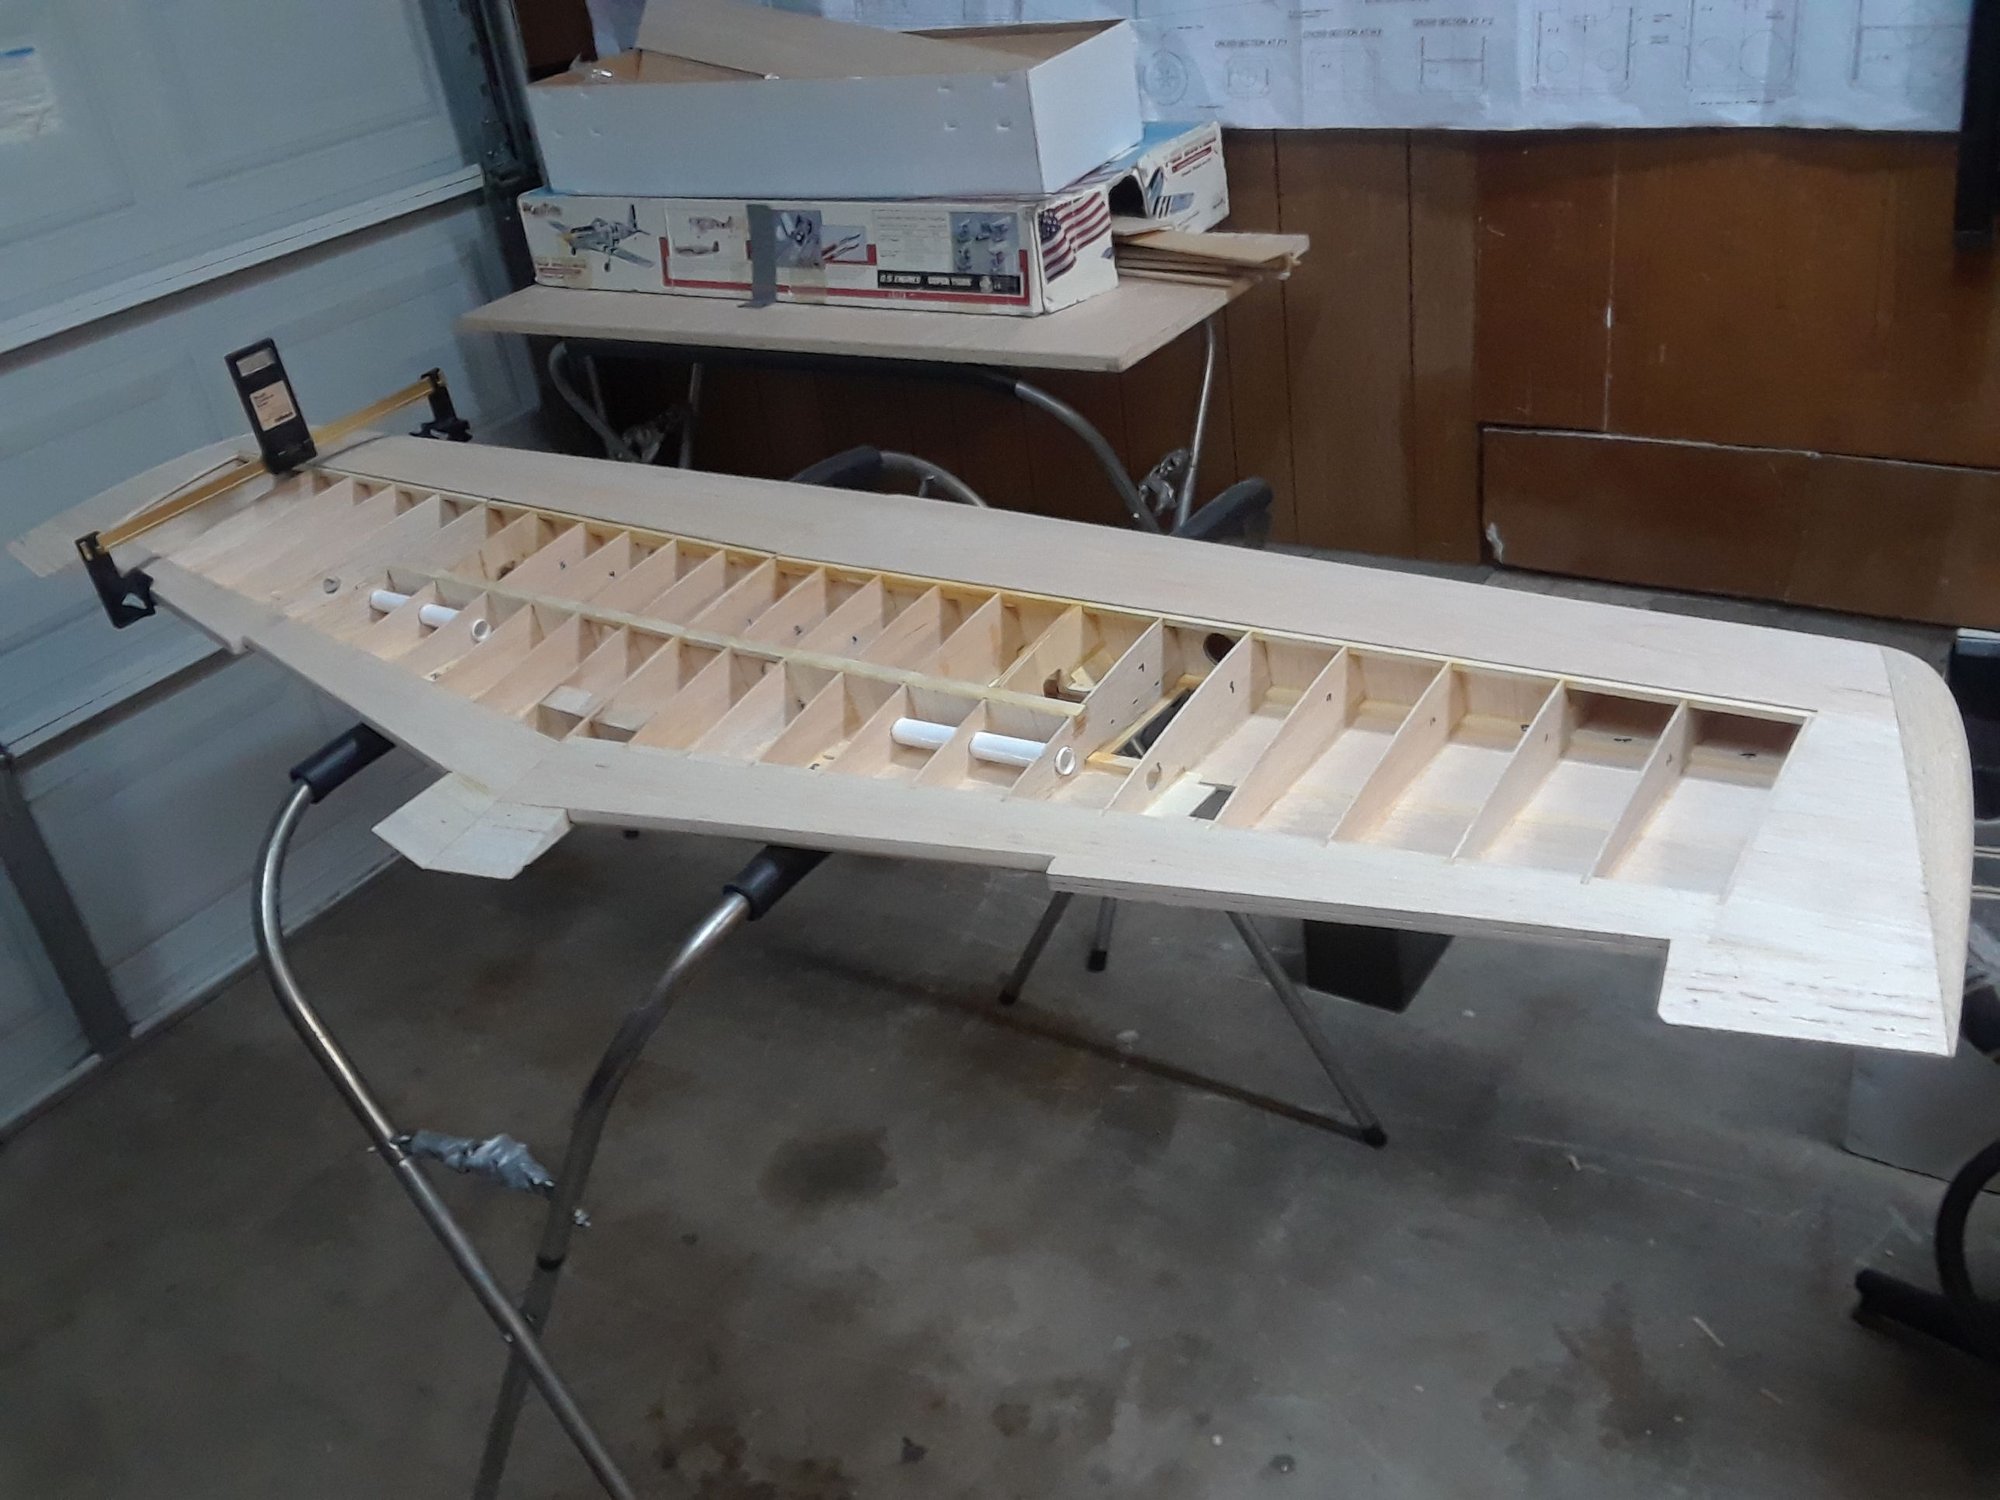
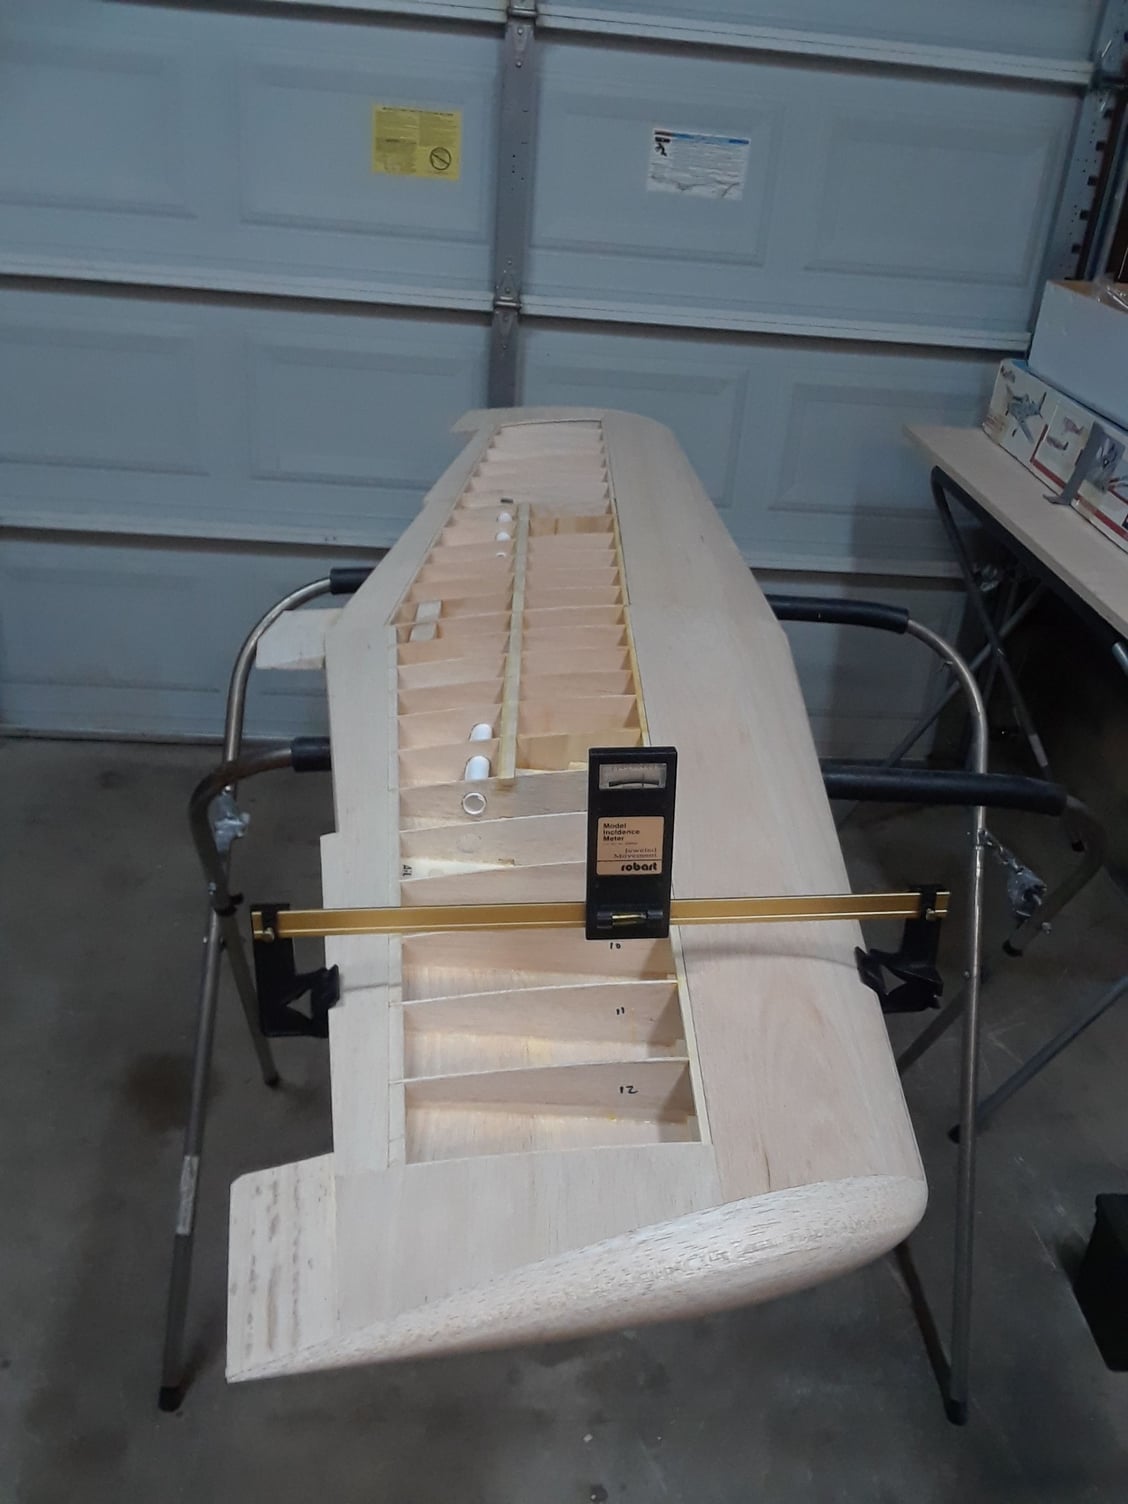
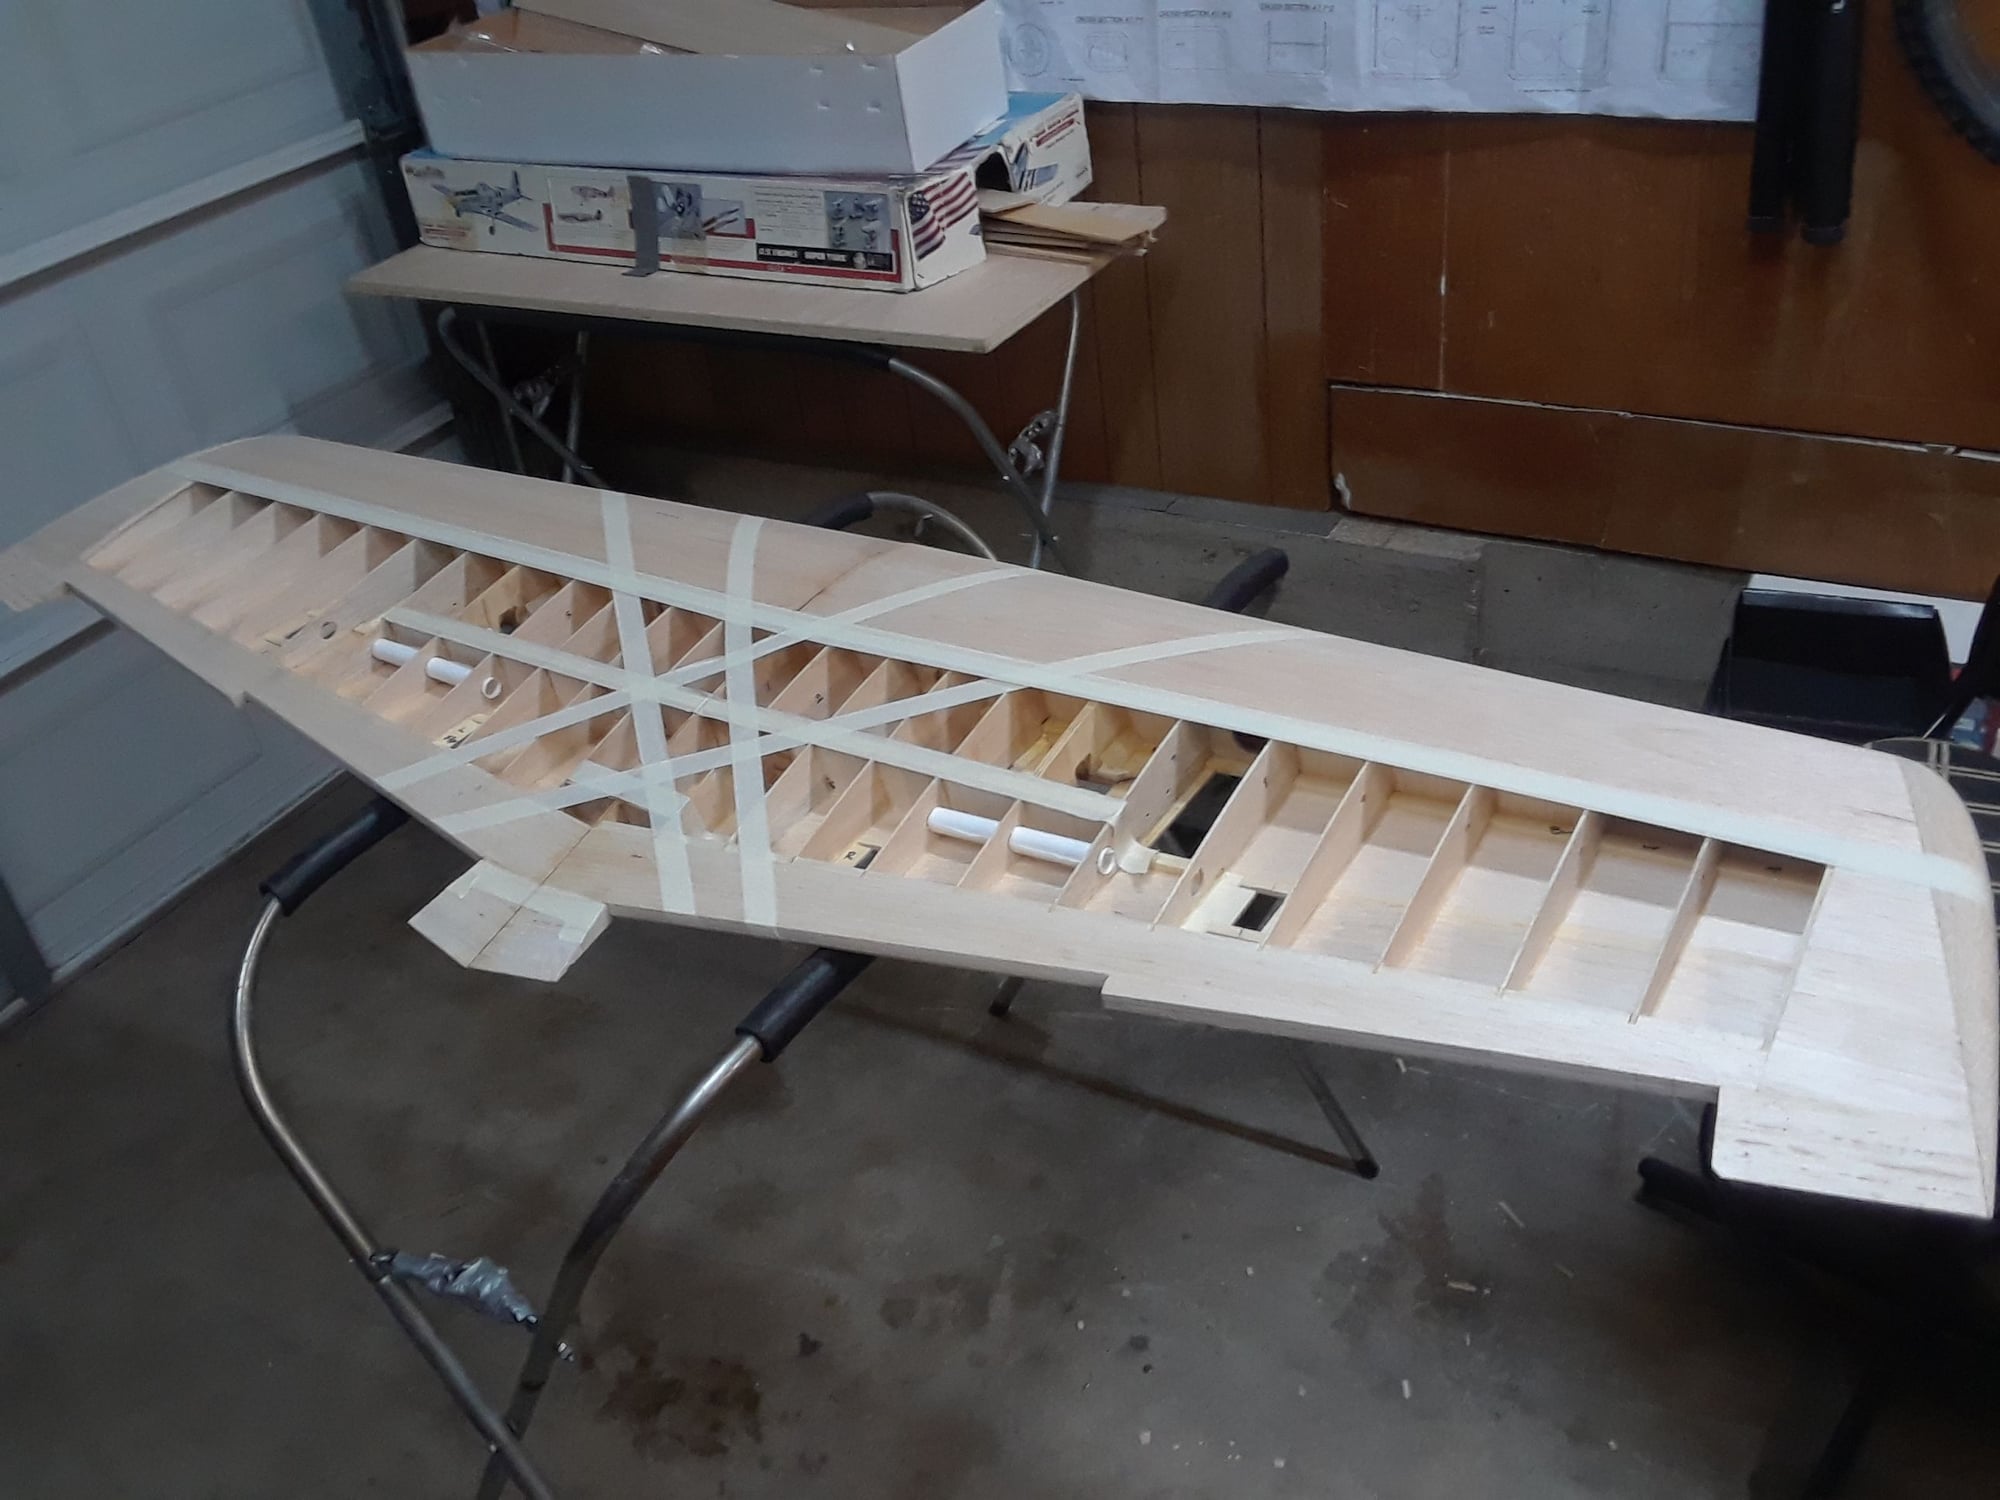
I have sanded the horizontal stab, rudder and wings with 100 grit to even all the joints on the wings in preparation to glue them togather so I have to do less after joining them, at the end I will give all the parts a sanding with 150 grit to prepare them for covering, I also made sure the elevator, rudder, flaps and ailerons are fitted just right.

Last edited by CARS II; 05-23-2018 at 08:39 PM.
Old 05-24-2018, 09:21 AM
  #4008  
SALMONBUG
My Feedback: (1)
 
SALMONBUG's Avatar
 
Join Date: Feb 2003
Location: kampenhout, BELGIUM
Posts: 1,396
Likes: 0
Received 2 Likes on 2 Posts
Default

nice job !! personaly to obtain the "mirror" effect of the covering I make a last final sanding with 400 ( folowed by a intensive dust removal with air compressor)
Old 05-24-2018, 01:40 PM
  #4009  
CARS II
My Feedback: (7)
 
CARS II's Avatar
 
Join Date: Oct 2002
Location: Sacramento CA
Posts: 6,589
Received 123 Likes on 106 Posts
Default

Thanks!

Yes, I'm planing on the air compressor to dust it off.
Old 05-24-2018, 03:21 PM
  #4010  
joeflyer
My Feedback: (48)
 
Join Date: Dec 2001
Location: Plymouth, MI
Posts: 2,957
Likes: 0
Received 16 Likes on 14 Posts
Default

Originally Posted by CARS II
Thanks!

Yes, I'm planing on the air compressor to dust it off.
Then use a tack cloth.
Old 05-24-2018, 08:02 PM
  #4011  
CARS II
My Feedback: (7)
 
CARS II's Avatar
 
Join Date: Oct 2002
Location: Sacramento CA
Posts: 6,589
Received 123 Likes on 106 Posts
Default

Thanks, I was thinking of that but wasn't sure, now I am.

Tks
Old 05-24-2018, 08:16 PM
  #4012  
CARS II
My Feedback: (7)
 
CARS II's Avatar
 
Join Date: Oct 2002
Location: Sacramento CA
Posts: 6,589
Received 123 Likes on 106 Posts
Default


Getting about 1/2 degree difference between the two wings.
Old 05-24-2018, 09:40 PM
  #4013  
CARS II
My Feedback: (7)
 
CARS II's Avatar
 
Join Date: Oct 2002
Location: Sacramento CA
Posts: 6,589
Received 123 Likes on 106 Posts
Default


Done, will let it dry overnight, I end up with no degree differences.
Old 05-25-2018, 06:34 AM
  #4014  
flyinfool1
My Feedback: (2)
 
flyinfool1's Avatar
 
Join Date: Jan 2002
Location: Cudahy, WI
Posts: 879
Likes: 0
Received 8 Likes on 5 Posts
Default

Another good tip for those wing tips.
Relieve the trailing edge and embed a piece of 1/16 music wire into the trailing edge formed to go around and about an inch along the tip toward the leading edge, wrap that with a layer of light glass cloth. these pointy wing tips of very thin balsa are very easy to get hanger rash on, this mod will make them a LOT stronger so they stay pretty longer.
Old 05-25-2018, 12:11 PM
  #4015  
SALMONBUG
My Feedback: (1)
 
SALMONBUG's Avatar
 
Join Date: Feb 2003
Location: kampenhout, BELGIUM
Posts: 1,396
Likes: 0
Received 2 Likes on 2 Posts
Default

found the wingtips a bit fragile also but I solved that with a more basic solution. i putted some drop of thin ca
Old 05-25-2018, 12:47 PM
  #4016  
Woketman
My Feedback: (6)
 
Join Date: Dec 2001
Location: Slidell, LA
Posts: 5,432
Received 8 Likes on 6 Posts
Default

Many years in the past, I built a Zone 5 Vortex ducted fan sport jet. Dan's solution to the wingtip issue was nice. Each wingtip was two balsa blocks, an upper and a lower. In between went a thin piece of carbon fiber. You adhered the three pieces together and then glued to the wing such that the CF was centered in the cross section of the airfoil. When you shaped the balsa blocks and finished sanding you had that CF protecting the edge from dings. Worked quite well!
Old 05-26-2018, 02:06 AM
  #4017  
SALMONBUG
My Feedback: (1)
 
SALMONBUG's Avatar
 
Join Date: Feb 2003
Location: kampenhout, BELGIUM
Posts: 1,396
Likes: 0
Received 2 Likes on 2 Posts
Default

Originally Posted by Woketman
Many years in the past, I built a Zone 5 Vortex ducted fan sport jet. Dan's solution to the wingtip issue was nice. Each wingtip was two balsa blocks, an upper and a lower. In between went a thin piece of carbon fiber. You adhered the three pieces together and then glued to the wing such that the CF was centered in the cross section of the airfoil. When you shaped the balsa blocks and finished sanding you had that CF protecting the edge from dings. Worked quite well!

never said your job was wrong, i just shared what seems to work for me
Old 05-26-2018, 02:12 AM
  #4018  
SALMONBUG
My Feedback: (1)
 
SALMONBUG's Avatar
 
Join Date: Feb 2003
Location: kampenhout, BELGIUM
Posts: 1,396
Likes: 0
Received 2 Likes on 2 Posts
Default

my turbine came back from germany, warranty repair. The internal turbine circuit board has been replaced. Both jetcat guy's, turbine used fellows and me have any idea of what hapened
Old 05-26-2018, 07:02 AM
  #4019  
Woketman
My Feedback: (6)
 
Join Date: Dec 2001
Location: Slidell, LA
Posts: 5,432
Received 8 Likes on 6 Posts
Default

Originally Posted by SALMONBUG
never said your job was wrong, i just shared what seems to work for me
Never implied that anything you did was wrong, just shared what worked for me!
Old 05-26-2018, 09:28 AM
  #4020  
CARS II
My Feedback: (7)
 
CARS II's Avatar
 
Join Date: Oct 2002
Location: Sacramento CA
Posts: 6,589
Received 123 Likes on 106 Posts
Default

It's all mixed up on the translation

&%&@^×^ Google translator, get better now
Old 05-26-2018, 09:29 AM
  #4021  
CARS II
My Feedback: (7)
 
CARS II's Avatar
 
Join Date: Oct 2002
Location: Sacramento CA
Posts: 6,589
Received 123 Likes on 106 Posts
Default

Good ideas guys, I should implement that on my future builds, no just the Reaction.

Wing and fuse togather for the first time.

Last edited by CARS II; 05-26-2018 at 09:32 AM.
Old 05-27-2018, 06:03 PM
  #4022  
CARS II
My Feedback: (7)
 
CARS II's Avatar
 
Join Date: Oct 2002
Location: Sacramento CA
Posts: 6,589
Received 123 Likes on 106 Posts
Default


Taking it easy on this holliday weekend, attended our annual giant flying at Castle ( Atwater, CA. ) on Fri and Sat, about 1 1/2 hrs from Sac, I got to fly my 97" Gee Bee

Last edited by CARS II; 05-27-2018 at 10:13 PM.
Old 05-28-2018, 06:26 AM
  #4023  
redtail
My Feedback: (15)
 
redtail's Avatar
 
Join Date: Oct 2002
Location: Alexandria, VA
Posts: 2,625
Received 6 Likes on 6 Posts
Default

Nice Photos. Chic
Old 05-28-2018, 04:35 PM
  #4024  
CARS II
My Feedback: (7)
 
CARS II's Avatar
 
Join Date: Oct 2002
Location: Sacramento CA
Posts: 6,589
Received 123 Likes on 106 Posts
Default


Thanks Chic.

Gluing the top center sheeting, right wing, waiting for the wood glue to dry, it should take about 2 hours or so to dry with the temps that we are having right now, lower 90's ( mini heat wave )

Last edited by CARS II; 05-28-2018 at 04:57 PM.
Old 05-28-2018, 06:12 PM
  #4025  
CARS II
My Feedback: (7)
 
CARS II's Avatar
 
Join Date: Oct 2002
Location: Sacramento CA
Posts: 6,589
Received 123 Likes on 106 Posts
Default


Left wing top sheeting on, the left wing is under all that another 2 hrs to dry, I will be fixing the storage shed in the mean time

Last edited by CARS II; 05-28-2018 at 06:22 PM.

Thread Tools
Search this Thread

Contact Us - Archive - Advertising - Cookie Policy - Privacy Statement - Terms of Service -

Copyright © 2024 MH Sub I, LLC dba Internet Brands. All rights reserved. Use of this site indicates your consent to the Terms of Use.