


Amadeus
 07-20-2015, 07:47 PM
#51

Thread Starter
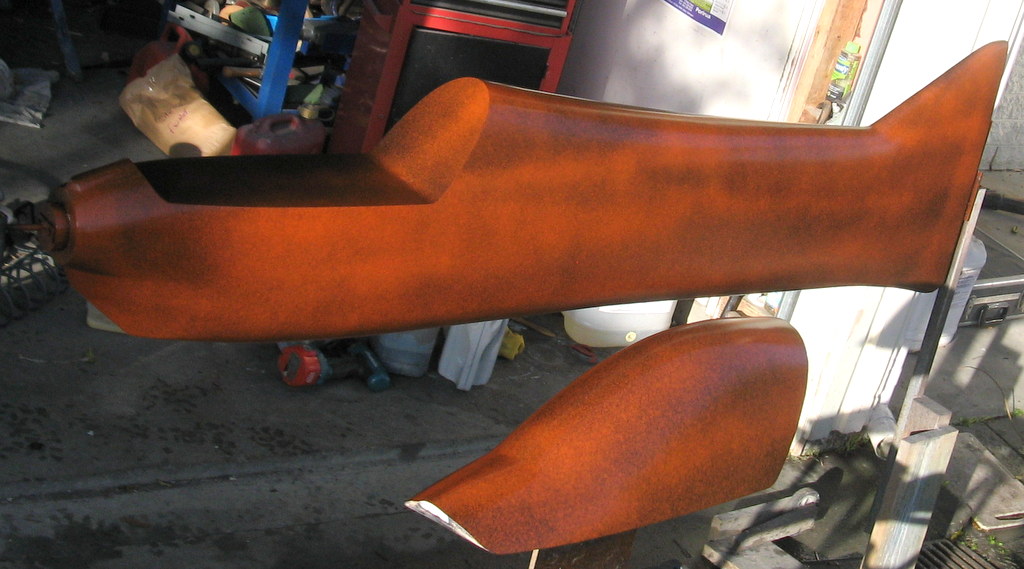
Applied a bit more filler and got another coat of epoxy undercoat on.The paint is fairly thin and not filling too much but will start put heavier coats on after this.

 07-21-2015, 03:00 AM
#53
Thread Starter
Hi Alex The 3GT pulleys or sprockets and belts as they call them are from BandB Manufacturing in the USA http://www.bbman.com/ They looked to be in stock items so I ordered a couple of sets. I expect there are stockists in the EU too. I would be interested in other suppliers too. However I am not interested in making many of these units. BTW I am sourcing some 8mm titanium ground bar for the front prop shaft. More later.
Making the actual molds is pretty standard practice but I will document it all. Of more interest is the fuselage layup system. This will be my first "small" molding but I have a plan. You don't see this sort of molding work much maybe it is commercially sensitive. Actually I am doing a couple of 31% SU31KS IMAC fuselages at the moment so I am getting my hand in again. You can see this a 40% Sick 360 and an earlier F3A design on FG.
Anyway I am still undecided on the layup for this model given the weight sensitivity. The Sukhoi is 2 layers of 80 gm glass then 2mm PVC foam then another layer of 80 gm on the inside, this is incredibly rigid and light enough for IMAC. I am thinking maybe 25 gm then 50 gm glass the 1mm rohacell then maybe 50 gm glass on the inside. However I do have some 60gm Kevlar I could use too. A technique I would like to use though is joining the 2 mold halves by double lapping the inside glass while still wet. This means vacuuming in the foam on the outer layers and allowing it to cure before doing the inner glass.
07-21-2015, 03:23 AM
#54
Thanks for the link Rodney.
I think for pattern purposes the 1mm rohacell sanwiched between 2 layers of 50g glass is more than enough. I used 80g glass on the outside, 1.2mm airex and 25g glass on the inside for my plane, but haven't tested it yet. Seems to be quite rigid though.
I think for pattern purposes the 1mm rohacell sanwiched between 2 layers of 50g glass is more than enough. I used 80g glass on the outside, 1.2mm airex and 25g glass on the inside for my plane, but haven't tested it yet. Seems to be quite rigid though.
07-21-2015, 04:15 AM
#55
Thread Starter
Thanks for the info Alex. So many variables! I think I had better do some tests before I do a fuselage. Oh BTW the Gt3 belt is 82 tooth for a 48.1mm shaft separation. Hope this works out in practice.
Last edited by RodneyFord; 07-21-2015 at 04:23 AM.
07-22-2015, 10:04 PM
#57
Thread Starter
More sanding. The good thing about the epoxy undercoat is stability. It doesn't shrink or get affected by subsequent layers like lacquer. I use polyester undercoats too but I had this and needed to use it before it went off, unlike lacquer which lasts forever. I will use lacquer for the top coat as it polishes well.
Today was also foam wing cutting day, so I cut some blue foam for the upper nose air intake.
Talking about wings, I have yet to finalise the plan form but the airfoil will be S8035 constant 11% most likely. Stabs will be Sd8020 as usual.


Today was also foam wing cutting day, so I cut some blue foam for the upper nose air intake.
Talking about wings, I have yet to finalise the plan form but the airfoil will be S8035 constant 11% most likely. Stabs will be Sd8020 as usual.
07-23-2015, 05:01 PM
#58
Thread Starter
More paint pics I'm afraid. I put a lot more on this time and will start sanding with a finer grade of paper. Still some bondo required. Managed to drop the canopy so that needs some repair
Scorpion motor arrived.


Scorpion motor arrived.
07-25-2015, 03:11 PM
#59
Thread Starter
More filling and sanding. Down to 150 grit here. Got this really nice fine polyester filler which can get into pin holes and is bubble free.


Last edited by RodneyFord; 07-25-2015 at 03:13 PM.
07-26-2015, 03:24 PM
#61
Thread Starter
Thanks for your kind words Claude. Nearly there with this part. About time I did the upper nose air intake and make sure there is a good canopy fit. More undercoat this morning, it is looking pretty fair now so will move to finer sand paper.

Last edited by RodneyFord; 07-26-2015 at 10:16 PM.
07-26-2015, 10:15 PM
#62
Thread Starter
Checked out the hatch fit, no real problems there. Glued on the upper nose air intake. Of course this will be fined down and integrated into the fuselage. Cheek cowls would probably look nice but I can see no advantage adding them.

07-29-2015, 02:06 PM
#64
Thread Starter
Gearbox parts are here. Of course will need machining. I am thinking of putting a DRO on my mill for this.
Have sourced 8mm high strength ground titanium shafting for the prop shaft. This should be here shortly.

Have sourced 8mm high strength ground titanium shafting for the prop shaft. This should be here shortly.
Last edited by RodneyFord; 07-29-2015 at 02:11 PM.
07-29-2015, 09:45 PM
#65
Thread Starter
More stuff for gearbox arrived. These are a set of Mod1 gear cutters so I can cut both the pinion and spur gear. Sanded and painted the nose air intake, it will need some more shaping.


08-01-2015, 07:03 PM
#67
Thread Starter
My friend Hamish thinks the design has attitude and Neil saw it and said it needs flames (he's a graphic designer so must be listened to). I'm thinking along the lines of this Su29 but with flames. I'm going to look onto vinyl wrapping the full airframe with the scheme printed on.
Last edited by RodneyFord; 08-01-2015 at 07:07 PM.
08-01-2015, 07:59 PM
#68
Thread Starter
Yet more undercoat. Every time I do this I spot more imperfections. However I am fast approaching the point of diminishing returns, and I want to start molding soon.

 08-01-2015, 10:03 PM
#70
Thread Starter
Early days yet. Just throwing ideas out there. I am liking the idea of pre-printed covering which would open up a higher level of complexity, not afraid of paint though. I would even consider silk on balsa flying surfaces that the Japanese do so well. Always trying to think outside the box. A lot of the colour schemes are pretty samey and I would like to get away from that.
Last edited by RodneyFord; 08-01-2015 at 10:07 PM.
08-05-2015, 03:03 PM
#73
Thread Starter
Waiting on the weather to carry on painting. In the mean time working on my precision lathe project so I can make the gearbox parts, am also going to be fitting a digital readout system to the mill to do the frame.
Propellers arrived from APC. I thought I would use them for test purposes.

Propellers arrived from APC. I thought I would use them for test purposes.
08-05-2015, 07:50 PM
#74
Thread Starter
The weather cleared up so I got some more filling and painting done. I put thin indicator coat on this time. I will use 400 grit for the next sanding cycle. It is looking pretty good now but am still seeing a few flaws.
08-06-2015, 09:08 PM
#75
Thread Starter
Yet more sanding. It took twice as long due to the indicator coat making me do a really complete sand. It's looking good (actually feeling good would a better description). One more undercoat I think, then lacquer top coats.


